Case 1
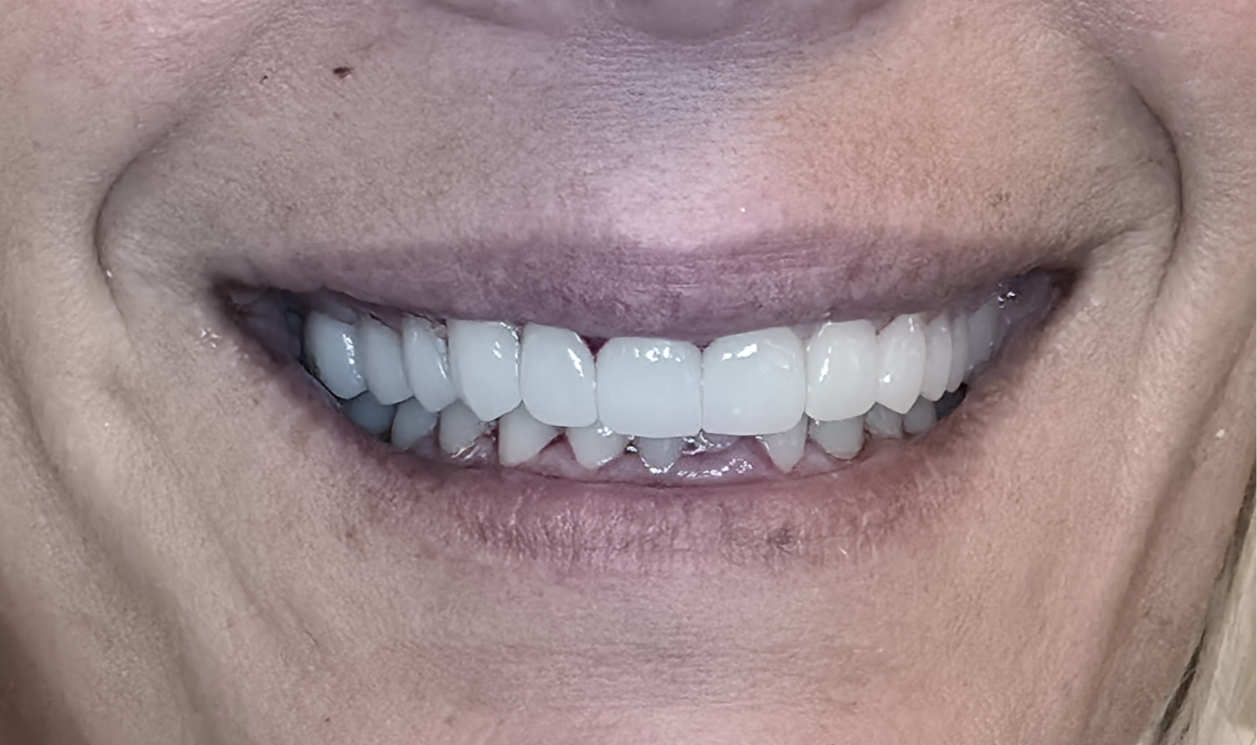
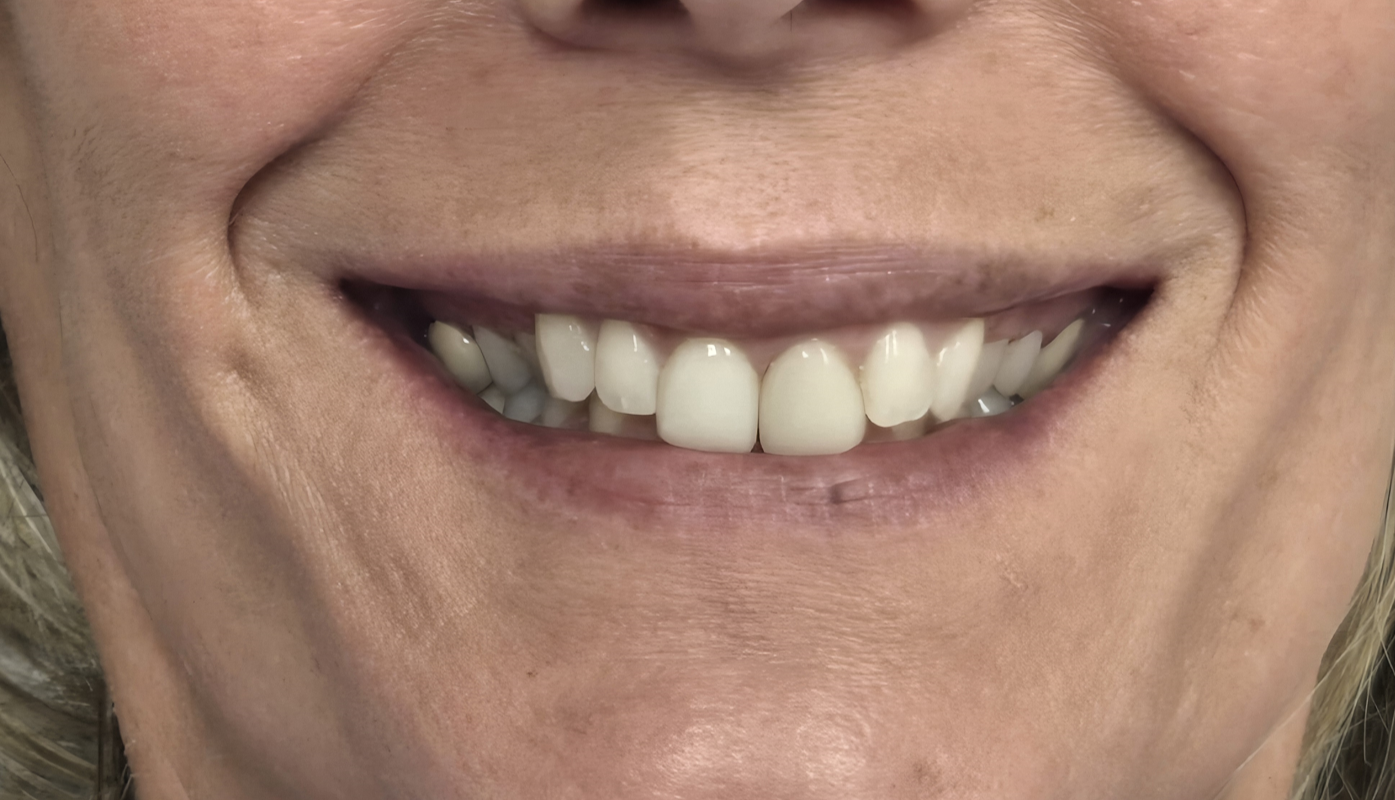
BeforeAfter
Drag to compare, or use the arrow keys.

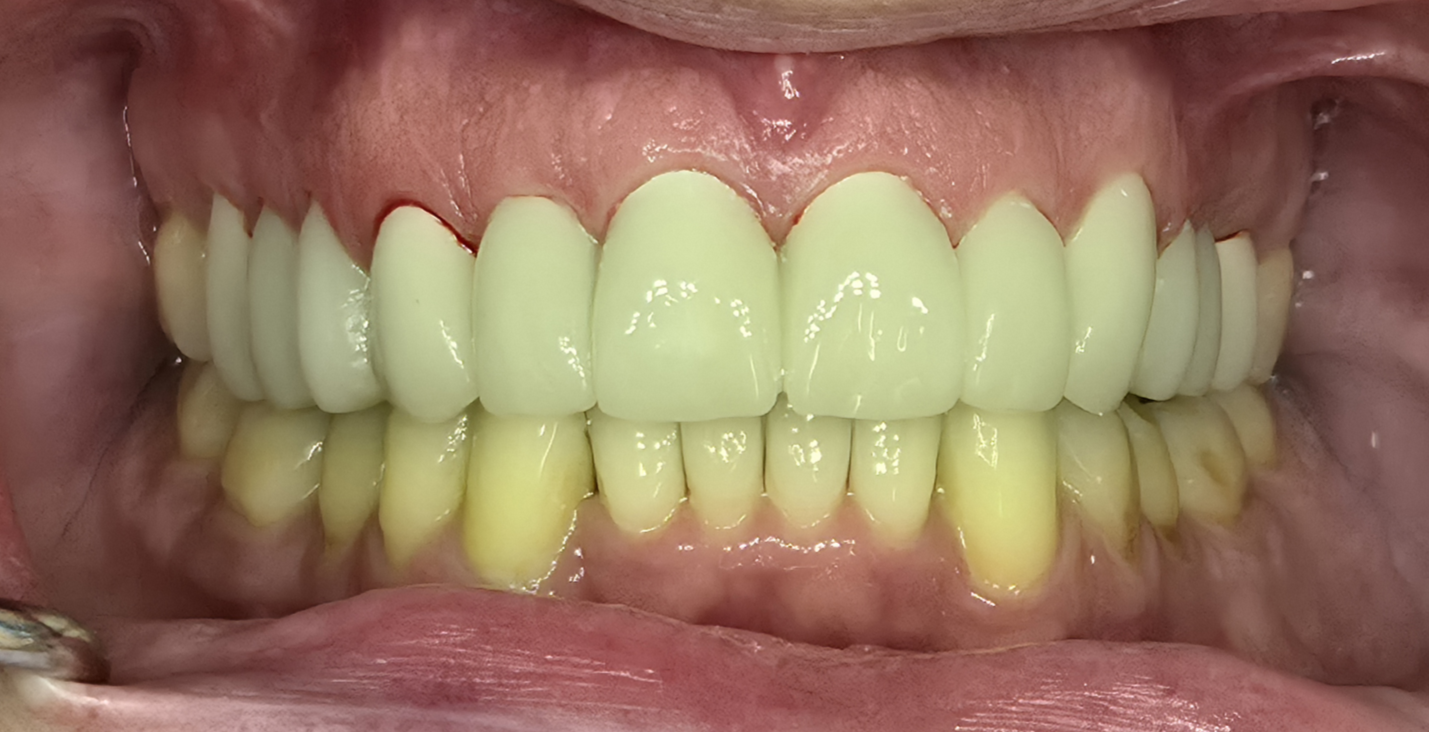
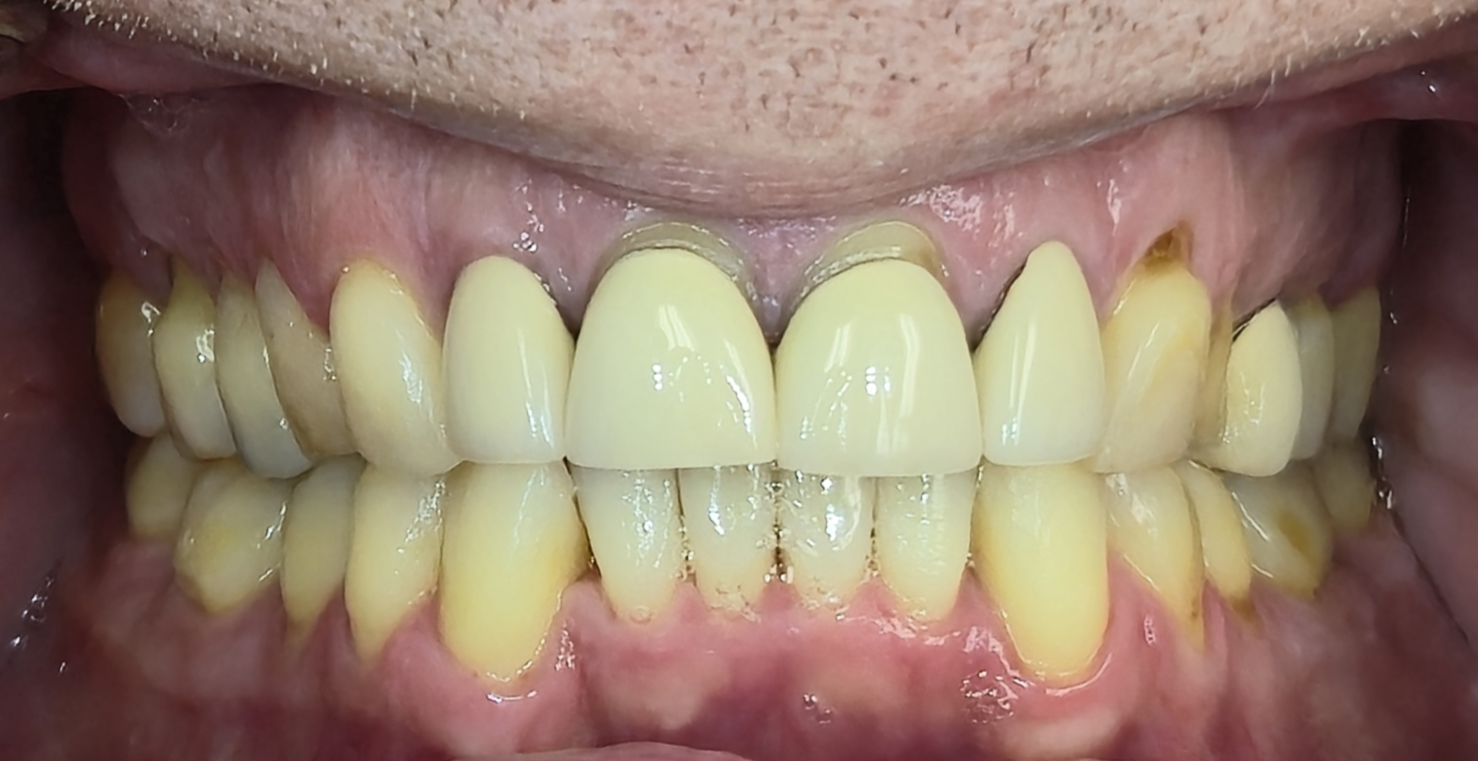
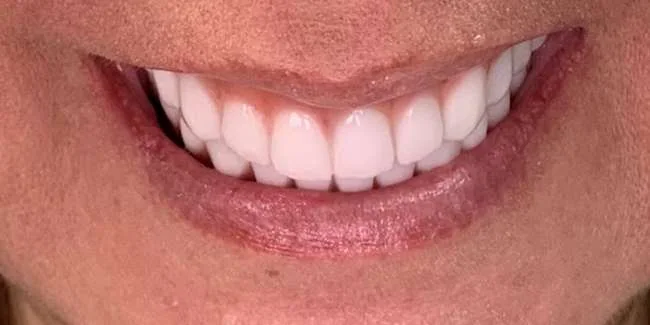
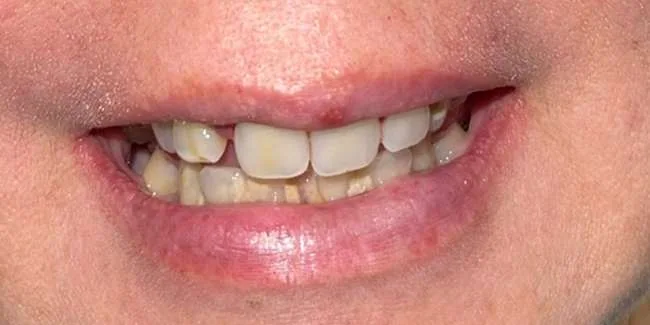
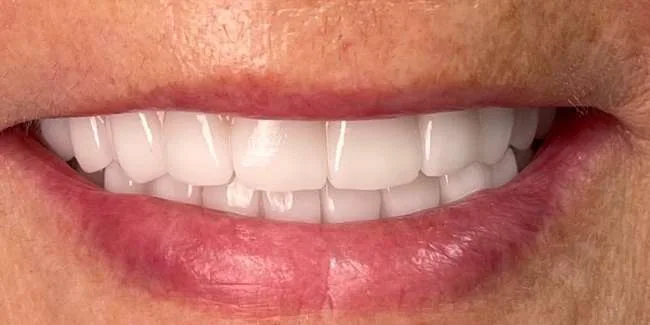
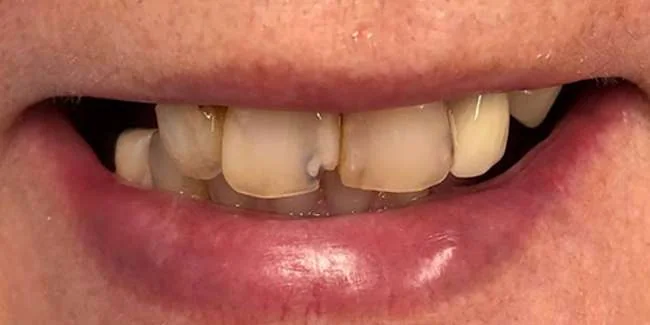
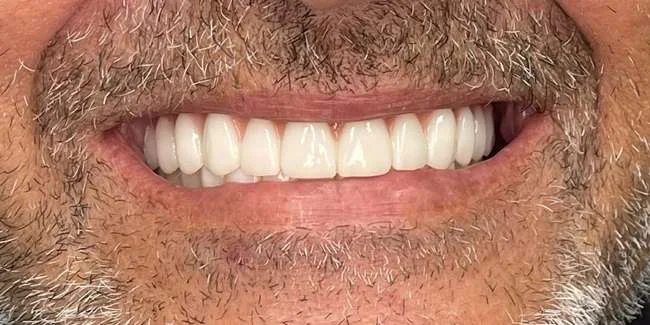
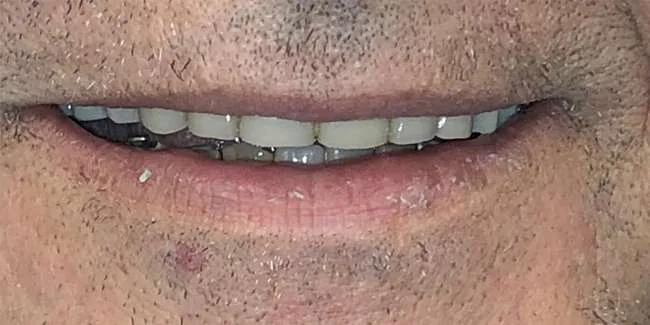
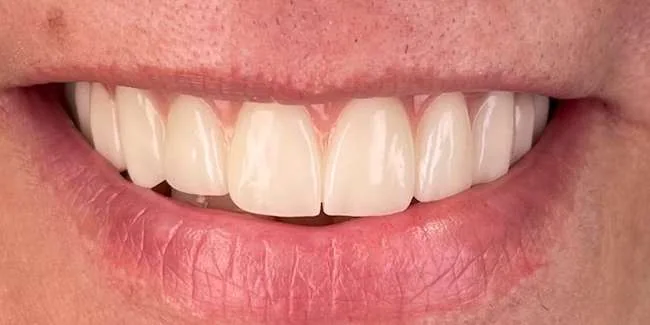
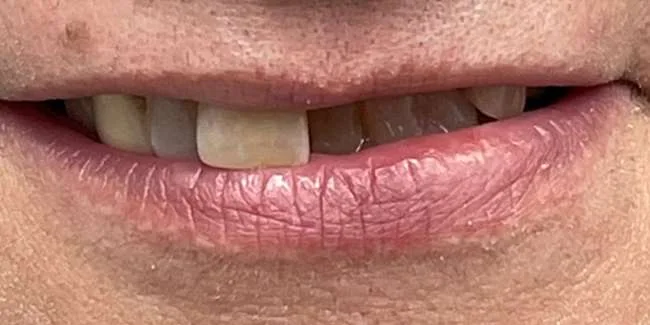
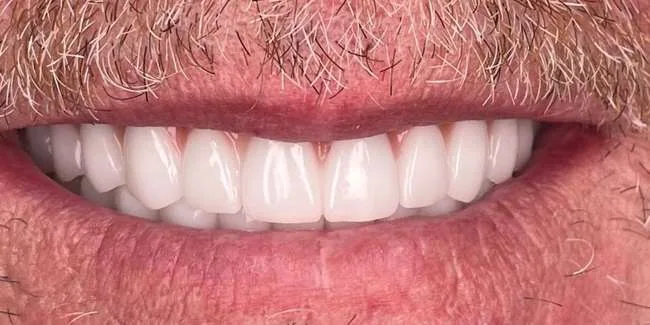
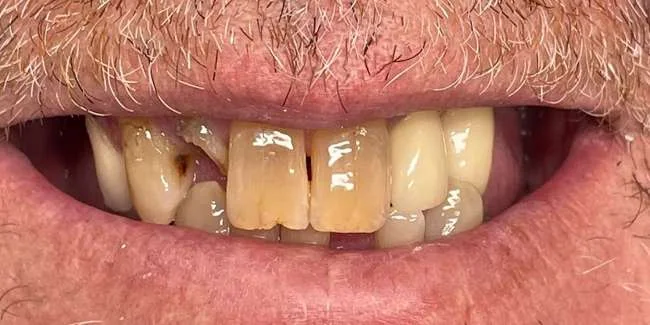
A closer look at individual smiles, before and after care.
Every smile has its own starting point. Move the slider to explore each pair, or view the photographs side by side.
Drag to compare, or use the arrow keys.
Drag to compare, or use the arrow keys.
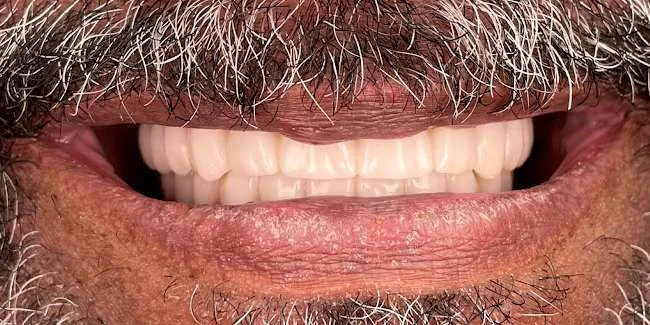
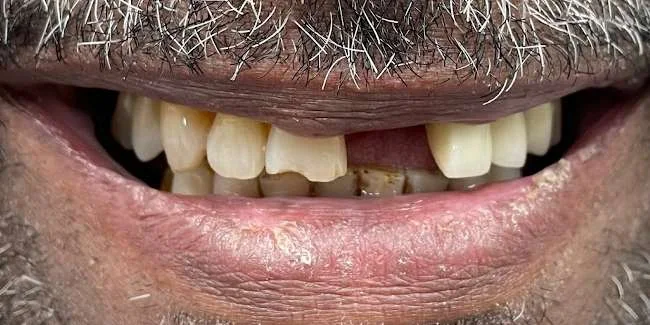
Drag to compare, or use the arrow keys.
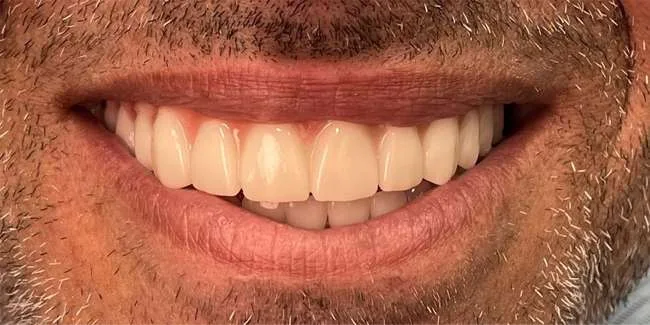
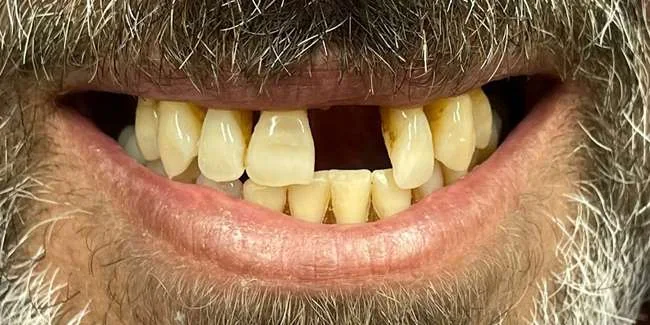
Drag to compare, or use the arrow keys.
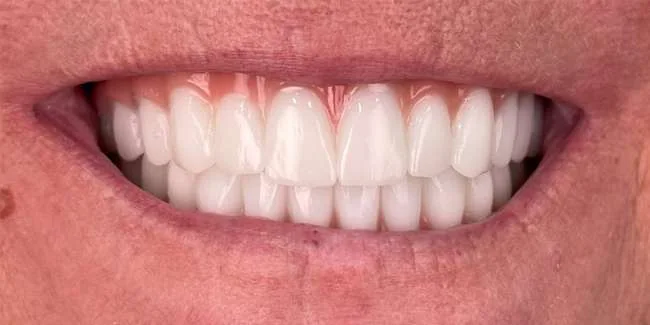
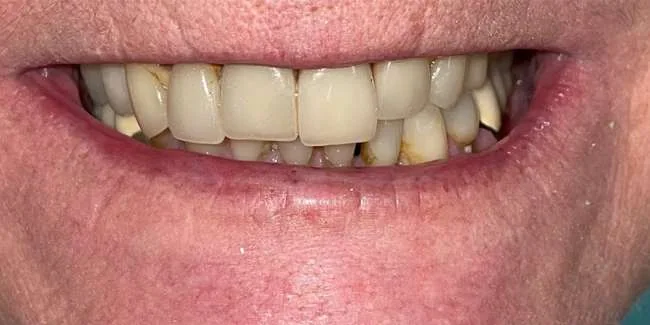
Drag to compare, or use the arrow keys.
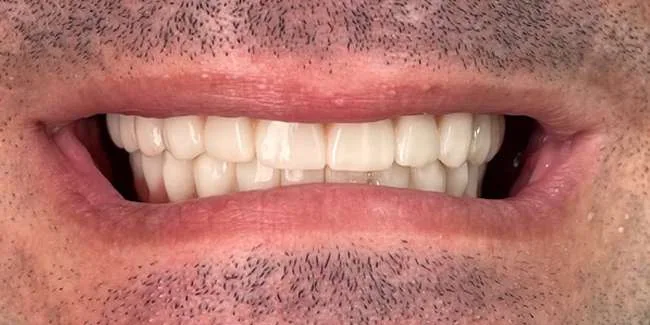
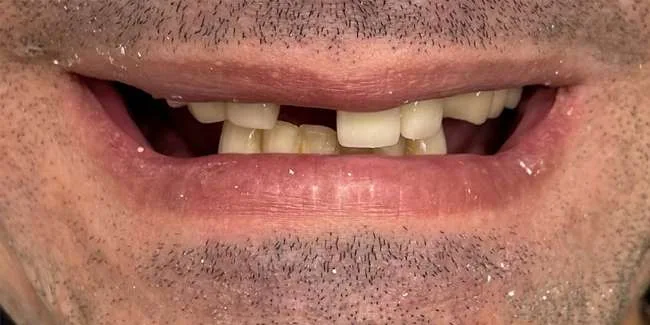
Drag to compare, or use the arrow keys.
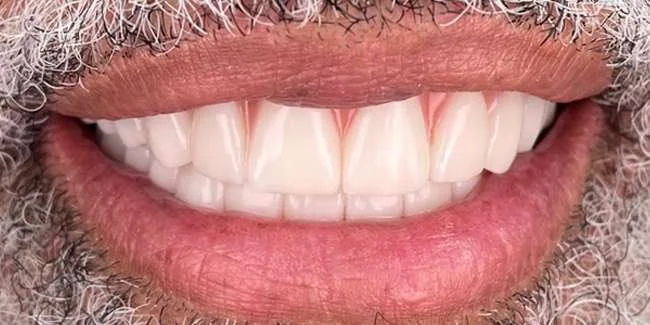
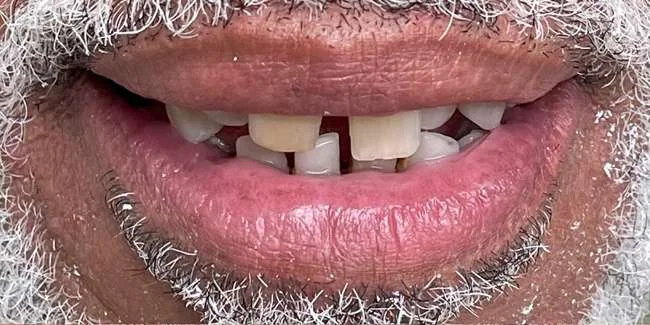
Drag to compare, or use the arrow keys.
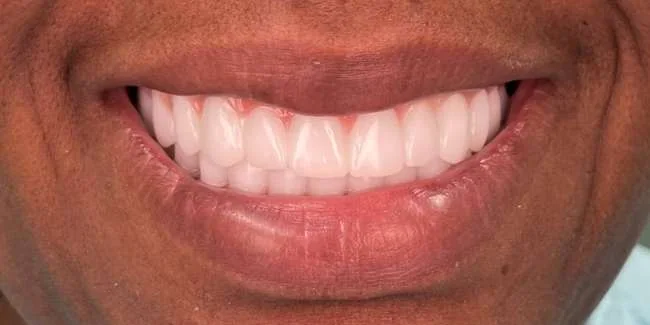
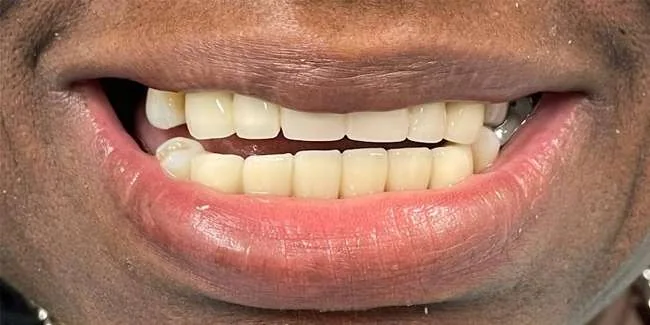
Drag to compare, or use the arrow keys.
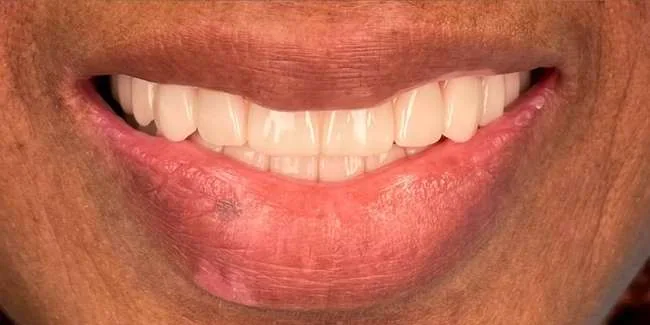
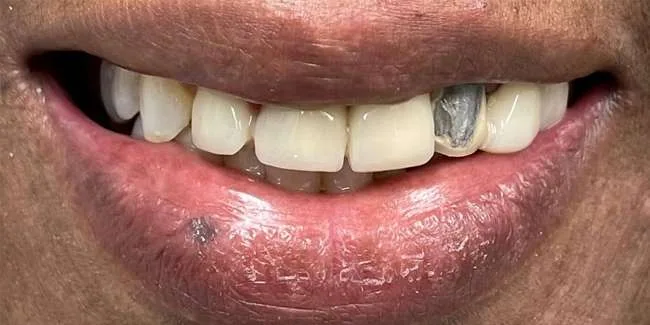
Drag to compare, or use the arrow keys.
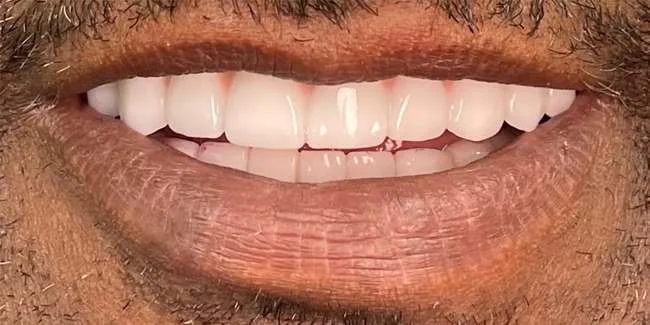
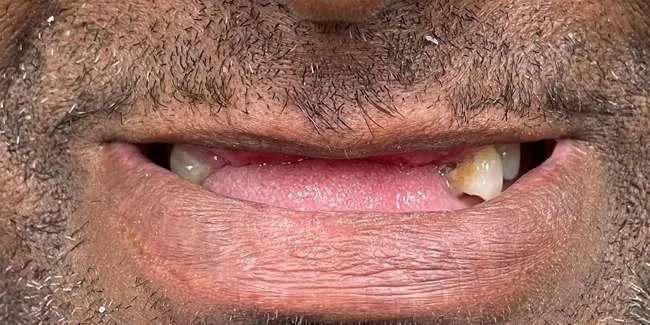
Drag to compare, or use the arrow keys.
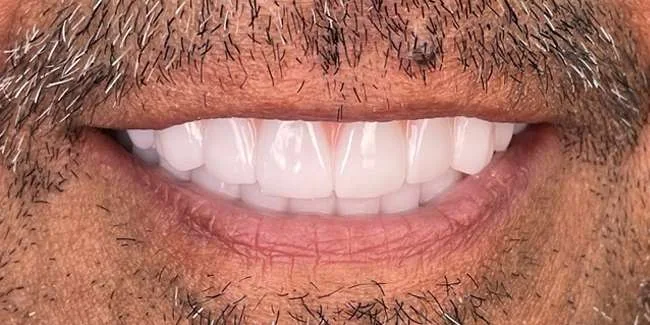
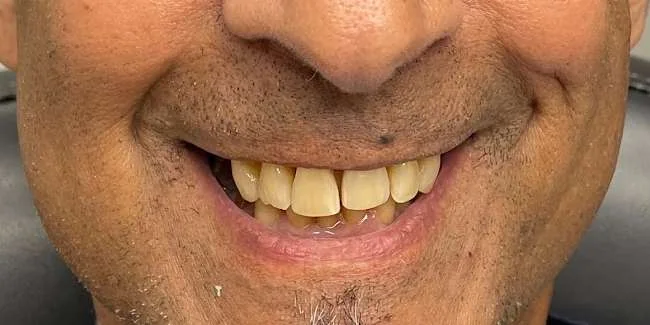
Drag to compare, or use the arrow keys.
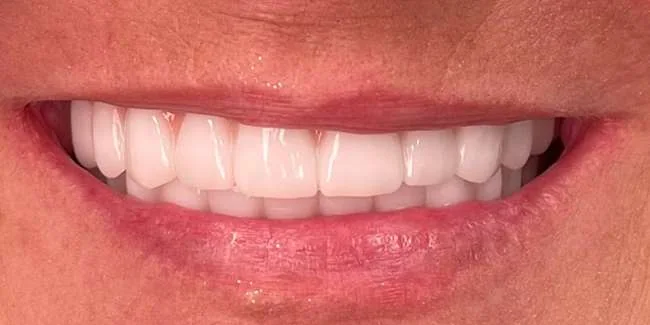
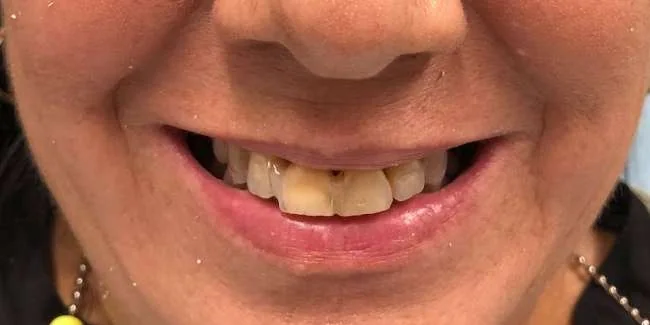
Drag to compare, or use the arrow keys.
Drag to compare, or use the arrow keys.
Drag to compare, or use the arrow keys.
Drag to compare, or use the arrow keys.
Drag to compare, or use the arrow keys.
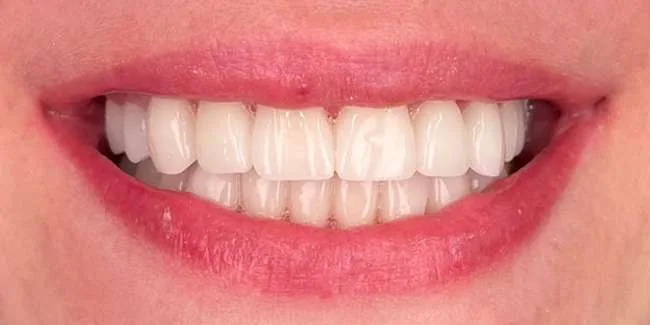
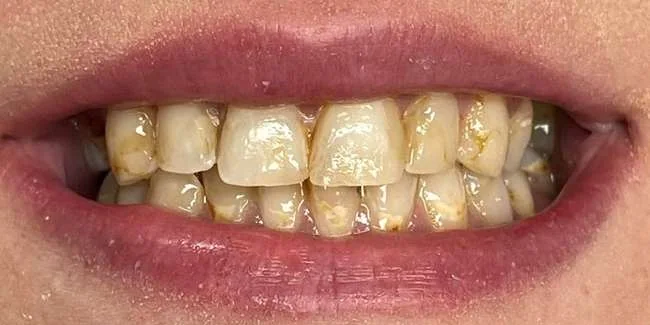
Drag to compare, or use the arrow keys.
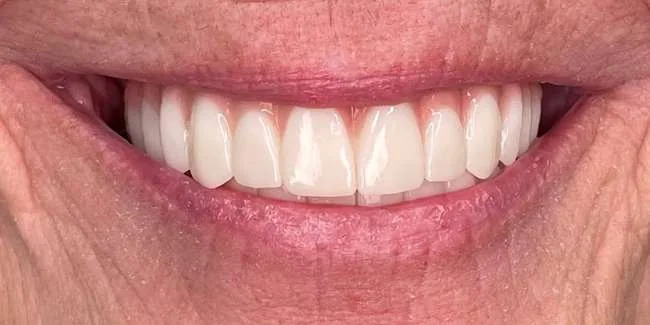
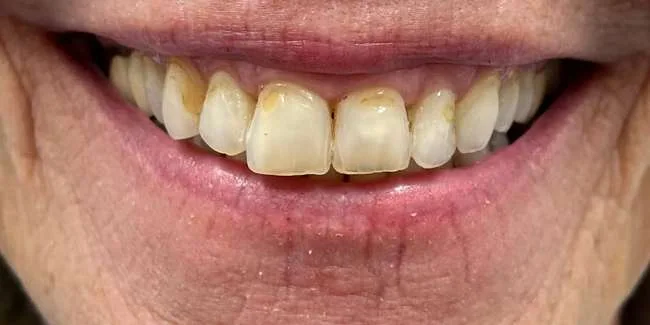
Drag to compare, or use the arrow keys.
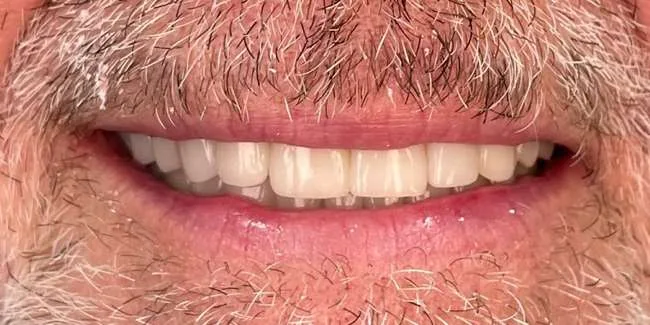
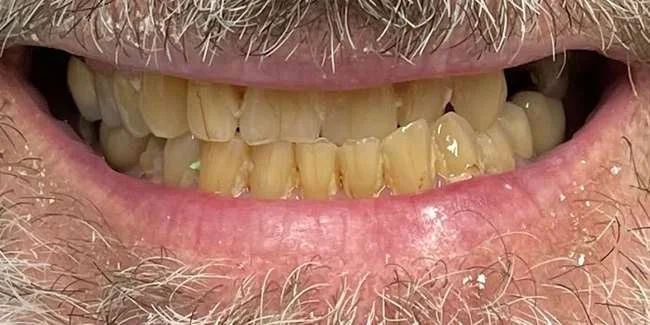
Drag to compare, or use the arrow keys.
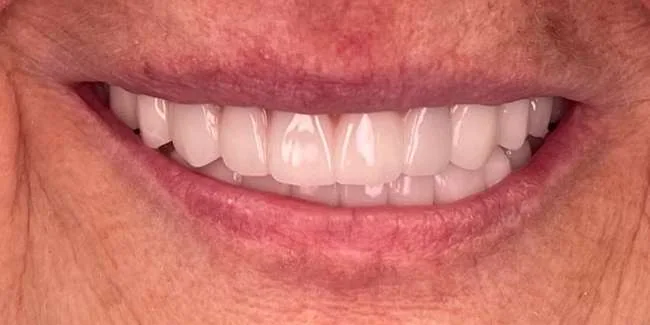
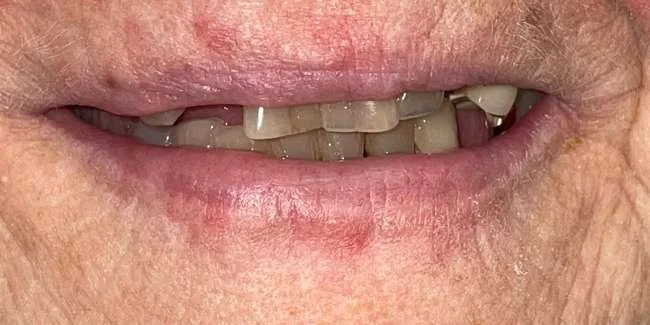
Drag to compare, or use the arrow keys.
Drag to compare, or use the arrow keys.
Individual results vary. Treatment options and outcomes depend on your own clinical needs. Photographs are shown as supplied; framing and lighting may differ.
